How to Make a Minimal Vector Portrait with Adobe Illustrator | Adobe Creative Cloud
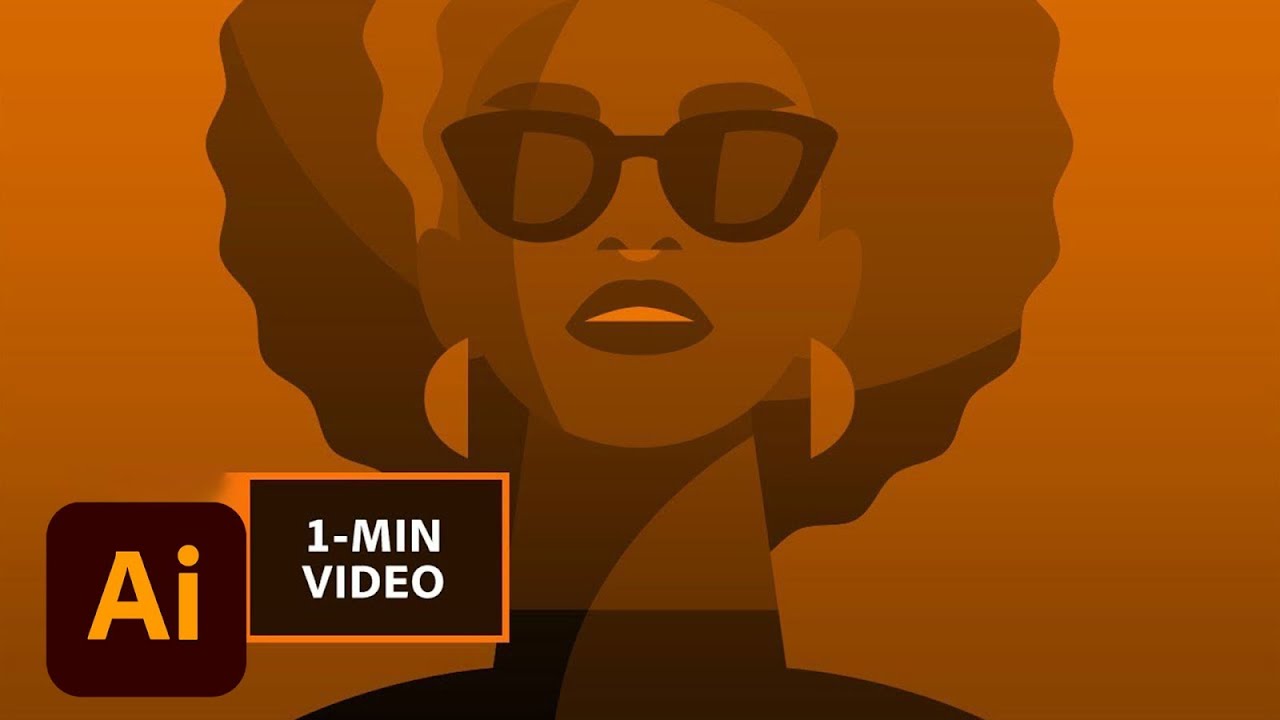
Create vibrant portraits with simple shapes, bright colors, and basic geometry.
Start from scratch, or download practice files [https://adobe.ly/2qlCcxU] for a head start. Steps below.
Prep your project:
1. Open the photo of the model (File – Open).
2. Use Control+R (Windows), Command+R (macOS), too show the rulers.
3. Drag a guide from the side ruler to the center of the model’s face.
4. Lock the image layer.
Draw the face:
1. Choose the Curvature tool.
2. Click to add anchor points to draw an outline around the left side of the model’s face.
Tip: To create corner points and straight lines, hold Alt (or Option) as you click.
3. Click the original point while holding Alt/Option to complete the shape.
4. Hide the photo layer.
5. With the shape selected, choose the Reflect tool (click and hold the Rotate tool to find it).
6. Click on the center guide to set the reflection point.
7. Select the shape and hold Shift+Alt (or Option) as you drag a reflected copy of the face shape.
8. Choose the Selection tool (V) and use Shift+click to select both sides of the face.
9. In the Properties panel (Window – Properties), choose Unite from the Pathfinder options.
10. Choose a Fill color and set the Stroke to ‘none’.
11. Use these techniques to draw facial features and accessories.
Tip: Use the center guide to reflect shapes, unite them, and change fill colors. Press Control+; (Windows), or Command+; (macOS), to toggle guide visibility.
If the Curvature tool inadvertently interacts with other shapes, locking the paths within the layer can help to prevent undesired results.
Add some hair:
1. Choose the Ellipse tool and hold Shift+Alt (or Option) as you drag a circle from the center of the face.
2. Fill the shape with color.
3. Use Shift+Control+[ or Shift+Command+[ to send the hair behind the face.
4. With the hair selected, choose Effect – Distort and Transform – Zig Zag.
5. Experiment with the settings.
Tip: We liked a Size of 10, Ridges per Segment to 11, and Points set to Smooth.
Create hair layers:
1. With the hair selected, choose Object – Expand Appearance to convert the zig zag path to a shape so you can customize the hair with the Shape Builder tool.
2. Hold Alt/Option as you drag to create overlapping copies of hair.
3. Use the Selection tool to select the copies.
4. Select the Shape Builder tool and hold Alt/Option as you drag to remove additional sections of hair outside of the original shape.
5. Change the fill color of each section of hair.
That's it!
To learn more, visit our Illustrator Tutorials page: https://adobe.ly/2LiiqdZ
#MakeItCC
Subscribe to Adobe Creative Cloud: https://www.youtube.com/AdobeCreativeCloud?sub_confirmation=1
Download Adobe Express: https://adobe.ly/3rDM7M8
Learn More: https://www.adobe.com/products/photoshop/explore.html?sdid=H822XMCW&mv=social&mv2=ownsoc-org
About Adobe Creative Cloud:
Adobe Creative Cloud gives you the world's best creative apps so you can turn your brightest ideas into your greatest work across your desktop and mobile devices.
Connect with Adobe Creative Cloud:
Twitter: https://twitter.com/creativecloud
LinkedIn: https://www.linkedin.com/showcase/adobe-creative-cloud/
Facebook: https://www.facebook.com/adobecreativecloud
Instagram: https://www.instagram.com/adobecreativecloud/
#AdobeIllustrator
How to Make a Minimal Vector Portrait with Adobe Illustrator | Adobe Creative Cloud
https://www.youtube.com/watch?v=JYtZ2zsdE_s7jSBZw3ir7A